ADD LOCATIONS AND TIME TAG
1 ) Go to the individual edit post page, scroll down the page you’ll see the “CUSTOM FIELD” panel. If you don’t see it, go back to the top of the page, click the “SCREEN OPTIONS” drop down. Check the custom field box and scroll back down the page, it should shows up.
2 ) Click “Enter New” > type “location” in lowercase for location tag and “time” for reading time tag in the “Name” field > insert text to the “Value” field > click “Add Custom Field” then save the post.
You need to complete the above steps if it’s your first time adding this widget to your post. Once the custom field has been added, it will be saved in your custom field library. You just need to open the “select” drop down menu and select “location” or “time” from the list for your next post.


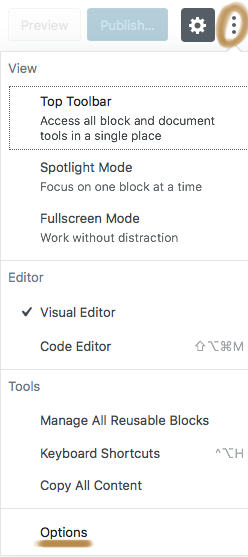
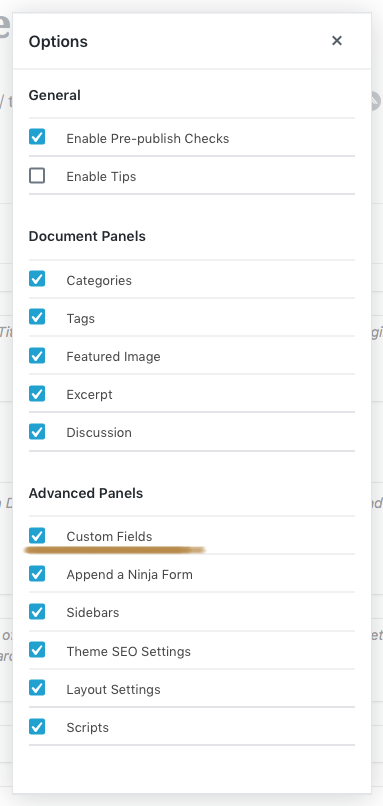
If you don’t see the custom field panel, please click on the three dots icon and click “OPTION“. A small window will popup in the center of the page, click “CUSTOM FIELD” and the page will reload automatically with the custom field option.


